Xpert Gallery 2
Installation
- First, download the extension from your site.
- Go to
Extensions> Manage> Install
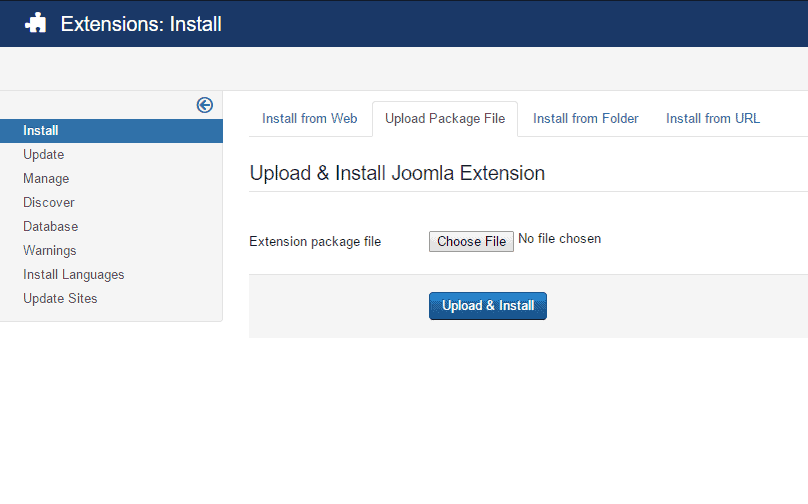
- Under Upload Package File tab, select the downloaded extension and click on Upload and Install.
Enable & Configuration
- Go to
Extensions> Modules - Find the mod_txgallery and click the pointed area like screenshot below in order to enable it.
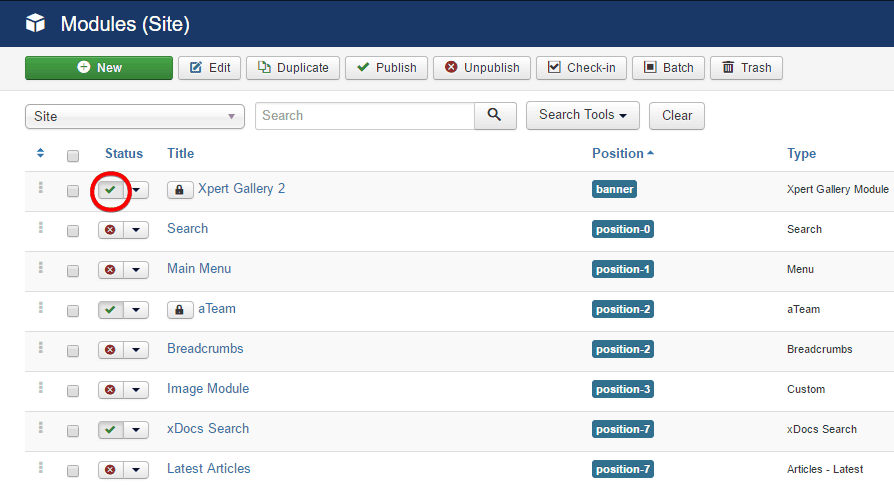
- Now, click on it then a configuration module will appear.
- Under the Module tab, click on Image Gallery Items and add images as many as you want.
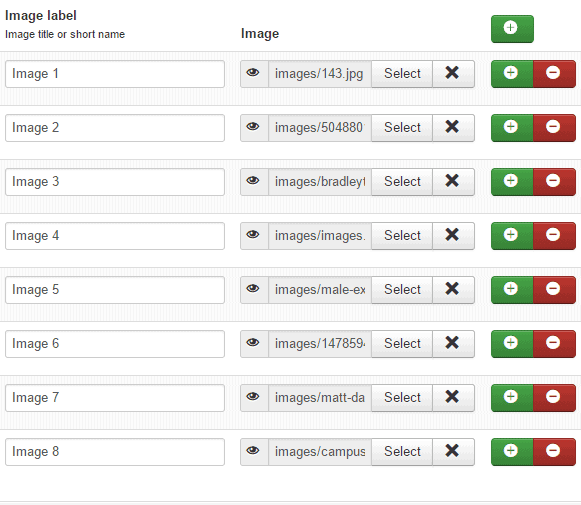
+ button allows you to add a new image.
- Click on the Save button after adding the images from the same window.
- Choose a position for the module.
- Select a position from the position drop-down menu.
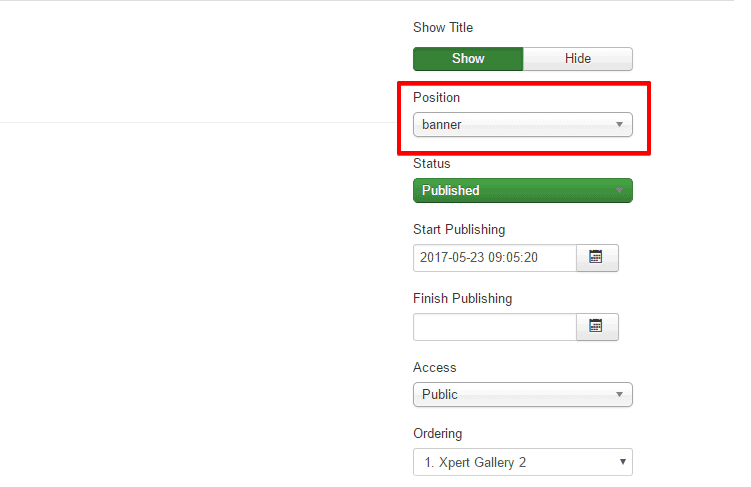
Ensure that the Status is set Published
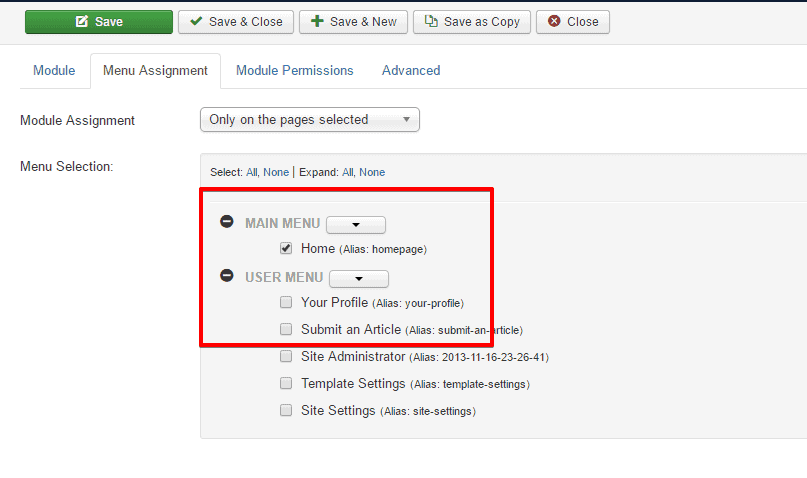
- Under the Menu Assignment tab, select the page in which you want to show the module.
- After successfully done all this, click on the Save & Close button at the top of the module and you are done.
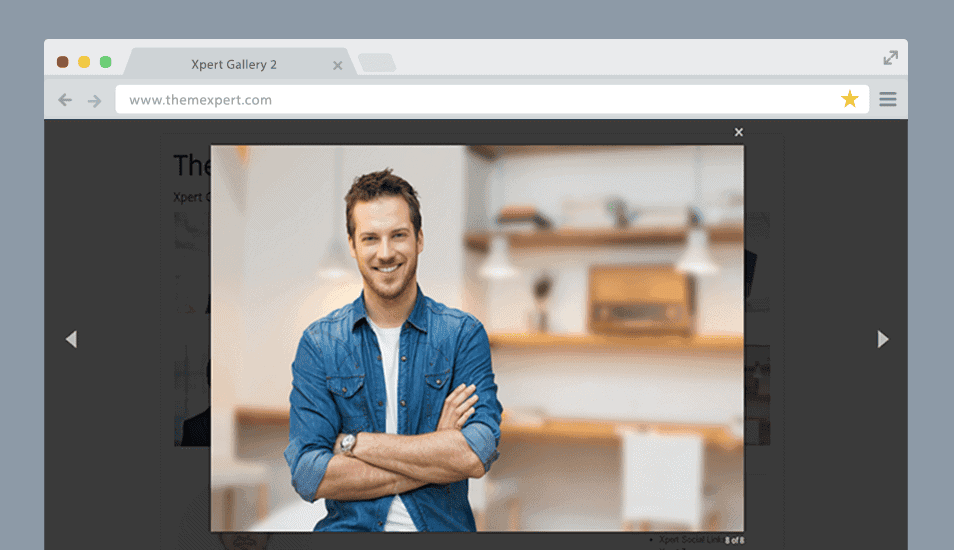
Front-end appearance:


Grow rapidly with our Joomla SEO service done by the veterans
With over 12 years of business and a vast array of Joomla templates and extensions, we know Joomla SEO better than anyone you could possiblly hire.
Improve my ranking